The Ultimate Guide to Choosing the Perfect Shower Screen for Your Bathroom
The Ultimate Guide to Choosing the Perfect Shower Screen for Your Bathroom
Introduction
A shower screen is more than just a functional barrier to keep water inside your shower area. The right design can completely transform your bathroom, adding elegance, functionality, and long-term durability. With so many options available--from frameless to fully framed, sliding to walk-in, wall-to-wall to diamond shaped --it's important to choose a shower screen that matches both your lifestyle and your space.
This guide will walk you through all the key factors, from different types of shower screens to measuring tips, installation allowances, and ordering processes, so you can confidently select the perfect shower screen for your bathroom.
1.Understanding Different Types of Shower Screens
1.1 By Frame
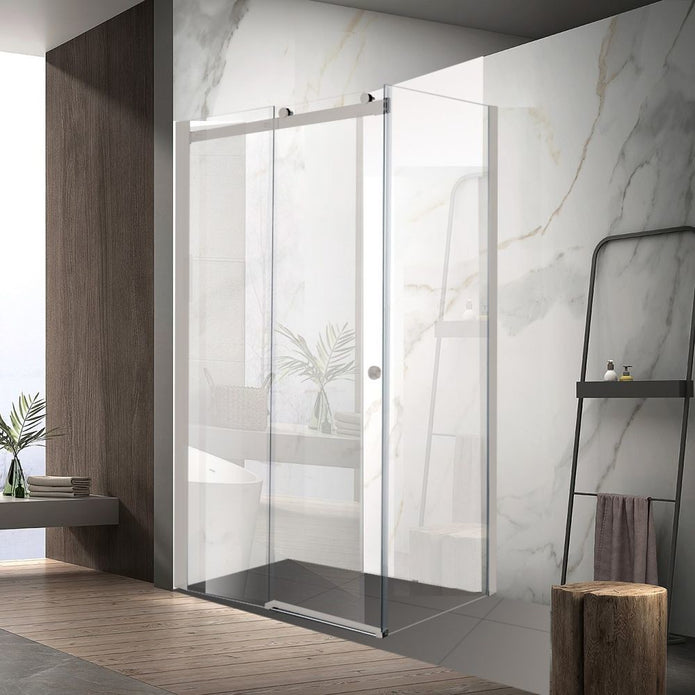
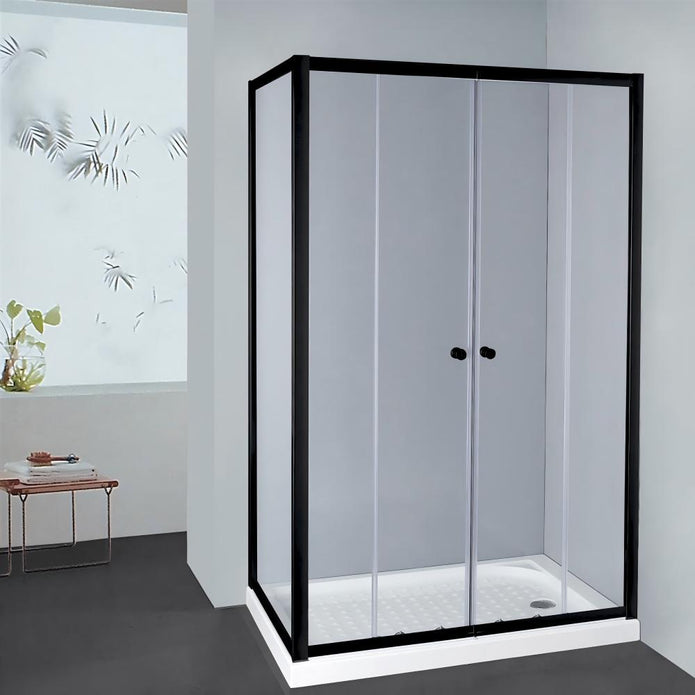
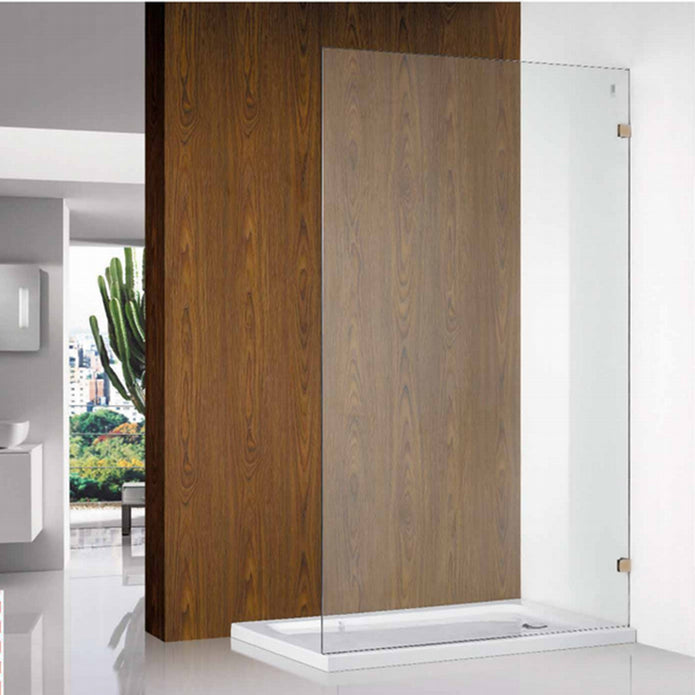
Frameless Shower Screens, Semi-Frameless Shower Screens, Fully Framed Shower Screens
|
Frameless Shower Screens |
Semi-Frameless Shower Screens |
Fully Framed Shower Screens |
 |
 |
 |
1.2 By Opening Style
1.3 By Shape
|
Wall-to-Wall |
L-Shape (Corner Screens) |
Diamond |
Curved Screens |
 |
1.4 By Finish/Colour
Shower screens are available in a wide range of finishes to match your bathroom style:
Chrome, Matte Black, Brushed Nickel, Gun Metal, Brushed Gold, Light Gold, and Brushed Bronze.

✅Warm tips: Special Considerations
When choosing your shower screen, consider additional features and requirements:
- Nano Coating
For easier cleaning and water resistance. If you need it, ensure door opening direction is compatible.
- Custom-Made Options
Necessary for bathrooms with sloped walls, uneven floors, or unique layouts.
- Professional Installation
For best results, consider expert installation. For example, HD Reno offers installation services in Sydney metro areas.
2.How to Measure for a Shower Screen
Accurate measurement is critical for a perfect fit. Always measure after tiling and plumbing are complete. If replacing an old shower screen, remove it first before measuring.
General Guidelines:
1.Draw a floor plan including vanities, toilets, and tubs.
2.Use a tape measure or laser measure.
3.Record dimensions at multiple points and take clear photos from various angles.
|
L-Shape Measurements |
Wall-to-Wall Measurement |
Diamond Shape Measurement Guide |
|
When measuring for an L-shaped (corner) shower screen, the type of floor makes a big difference. Please follow the correct method based on your bathroom floor condition: |
When measuring for a wall-to-wall shower screen (installed between two parallel walls), it’s important to measure at three different heights to check if the walls are perfectly |
For a diamond-shaped (angled) shower screen, five key measurements are required: |
Simply measure the floor angle sizes at the base where the shower screen will be installed.
Measure the angle of the higher floor side. This measurement represents the internal size of the shower screen. When selecting your product, remember to add the thickness of the glass or frame to ensure a proper fit.
Measure the angle from the raised floor side. This measurement represents the external size of the shower screen. When selecting your product, you must deduct the thickness of the glass or frame to calculate the correct size. |
Measure the distance from Wall A to Wall B at a height of around 1800mm from the floor (approximately shoulder or head level).
Measure the distance from Wall A to Wall B at a height of around 1000mm from the floor (approximately waist level).
Measure the distance from Wall A to Wall B at the floor level.
🎯By comparing these three measurements, you can see if the walls are straight. This prevents issues like gaps or poor alignment when the shower screen is installed. |
· Wall A Length – the length of the first wall side. · Wall B Length – the length of the second wall side. · Door Panel Size – the width of the door panel. · Hinge Panel Size – the width of the panel that holds the hinges. · Fixed Panel Size – the width of the fixed glass panel. 📌Important: If the floor is step-down or step-up, always measure from the higher floor side. This ensures you get the correct internal or external size depending on the installation. |
To be specific
When measuring for an L-shaped (corner) shower screen, the type of floor makes a big difference. Please follow the correct method based on your bathroom floor condition:
- Flat Floor
Simply measure the floor angle sizes at the base where the shower screen will be installed.
- Step Down Floor (the shower area floor is lower than the main bathroom floor)
Measure the angle of the higher floor side.
This measurement represents the internal size of the shower screen.
When selecting your product, remember to add the thickness of the glass or frame to ensure a proper fit.
- Step Up Floor (the shower area floor is raised higher than the main bathroom floor)
Measure the angle from the raised floor side.
This measurement represents the external size of the shower screen.
When selecting your product, you must deduct the thickness of the glass or frame to calculate the correct size.
When measuring for a wall-to-wall shower screen (installed between two parallel walls), it’s important to measure at three different heights to check if the walls are perfectly.
- Top Measurement
Measure the distance from Wall A to Wall B at a height of around 1800mm from the floor (approximately shoulder or head level).
- Middle Measurement
Measure the distance from Wall A to Wall B at a height of around 1000mm from the floor (approximately waist level).
- Bottom Measurement
Measure the distance from Wall A to Wall B at the floor level.
🎯By comparing these three measurements, you can see if the walls are straight. This prevents issues like gaps or poor alignment when the shower screen is installed.
For a diamond-shaped (angled) shower screen, five key measurements are required:
- Wall A Length – the length of the first wall side.
- Wall B Length – the length of the second wall side.
- Door Panel Size – the width of the door panel.
- Hinge Panel Size – the width of the panel that holds the hinges.
- Fixed Panel Size – the width of the fixed glass panel.
📍Important Tips for Frameless Shower Screens
For all frameless shower screens (except the sliding door type), especially diamond-shaped designs, it’s essential to have a professional installer take measurements before placing your order.
Frameless shower screens require very precise wall alignment and perfect matching with the floor’s waterproof angle, which makes installation quite challenging.
Proper measuring and professional installation ensure the best fit, stability, and long-term durability of your shower enclosure.
Warm tips:
No bathroom is perfectly square or level. Shower screens allow for slight wall or floor unevenness.
- Frameless Screens: Typically allow 5–10mm tolerance depending on the model.
- Semi-Frameless & Fully Framed Screens: More flexible, allowing up to 8-15mm adjustment.
- Single Panels: 5–8mm adjustment depending on brackets or channels.
- Bathtub Screens: 3–10mm adjustment depending on the model.
If you are unsure, please feel free to contact our sales team at sales@hdreno.com.au.Our sales representative will advise you whether this range requires customization.
3.Ordering a Shower Screen Standard Ordering Process
Choose your type (frameless, semi-frameless, framed)
Select door style (sliding, pivot, walk-in)
Pick shape and finish
Provide accurate measurements
Custom Ordering Process
Required for irregular walls/floors or unique layouts
Provide detailed measurements and photos
Confirm opening directions and design details
Allow additional lead time for production and delivery
Conclusion
Choosing the right shower screen is about balancing aesthetics, space, and functionality. With options ranging from sleek frameless panels to durable framed designs, plus custom-made solutions, there's a perfect fit for every bathroom.
By taking precise measurements, considering your layout, and selecting the right finish and opening style, you'll not only enhance your bathroom's look but also ensure long-term performance.
✨ Ready to upgrade your bathroom? Explore our wide range of shower screens or contact our team for expert advice and installation services.


